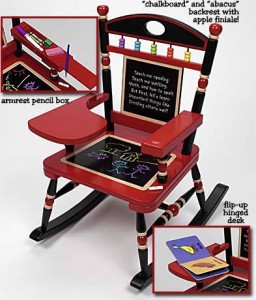
Hopefully, the idea of chalkboards brings back pleasant memories of grade school moments you experienced as a child.
Regrettably, that’s not everyone’s story. For most of us, we tend to remember all of the peculiar teachers, the fear of being called to the chalkboard when we don’t know the answer or hearing the teacher dreadfully scratch is/her fingernails across the board.
Well, the good news is that we can create positive chalkboard experiences for our children and grandchildren.
Thanks to some innovative thinkers, we can take the positive, creative aspects of chalkboards and apply them to our daily lives.
The possibilities for using chalkboards are almost endless. For example, you could make chalkboard panels to hang in your children’s room so they can express their creativity or for your home office for brainstorming or to-do lists. Smaller panels can be made to hang on the refrigerator for impromptu grocery lists. Containers can be painted with stripes of chalkboard to serve as reusable labels.
You are limited only by your creativity.
Even if you don’t have children and are just a child at heart, incorporating creative applications of chalkboard paint throughout your home can be just plain fun.
Because there are so many things you can create with chalkboard paint, we’re just going to discuss some general rules to keep in mind when embarking upon your project.
Remember:
1. Sand any surface you’re planning to use that isn’t already smooth.
2. Be sure to thoroughly clean and dry the surface.
3. Use masking, or painter’s, tape to mark off boundaries. Experiment with tape to create exciting shapes.
4. If you’re working on wood or other porous materials, it would be best to use a primer.
5. Apply the paint evenly. This cannot be stressed enough.
6. In the event you need more than one coat, allow the original coat to dry for at least 24 hours.
So plan ahead so you’ll have time to finish your project in one weekend.
Enjoy your trip down memory lane. If it’s not a pleasant trail, then just paint over it.
