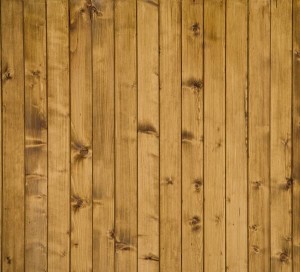
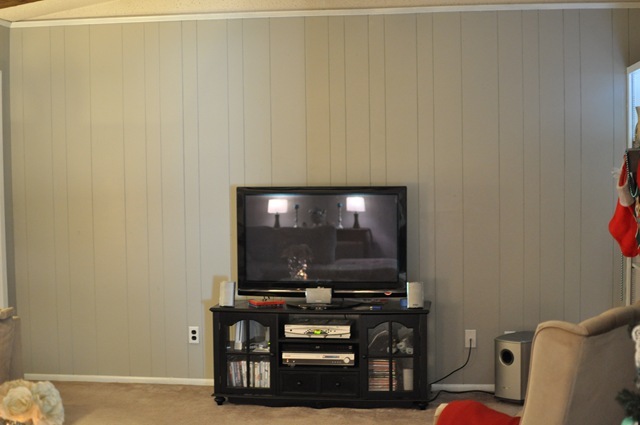
If you were around during the ’60’s – 80’s, or were just fortunate enough to purchase a house that was built during that time (and has yet to be renovated), then you are no stranger to wood paneling. Because it is so readily identifiable with that bygone era, wood paneling usually evokes a hate-it or love-it reaction. If you’re in a situation where you have wood paneling, you have a few options:
Take It Down

The most obvious solution to address wood paneling (if you don’t like it) is to simply take it down and go with a traditional painted drywall. Taking down wood paneling is a fairly simple task and only requires the claw end of a hammer to get under the edge of the first panel. The rest just involves a bit of pulling and ripping until it’s all on the floor and ready to be discarded.
Since wood paneling can be painted over, it’s not entirely necessary to remove it, unless you just want a clean start (and don’t want to see the lines between the panels and have them remind you of what lies beneath.
Restore It
Restore wood paneling? Sounds strange doesn’t it? Well, it all depends upon the paneling. Some of the paneling that was installed during its heyday actually was wood. As the years (and the technology) advanced, cheaper wood paneling was actually just photographs of wood grain that were glued to cheap particle board.
It goes without saying that if the particle board starts to wear out, just replace it or paint it. It’s only the real wood paneling that can be properly installed.
Paint It

If you’re going to paint your wood paneling, here’s what you’ll need:
- paint roller
- paint brush
- multi-purpose primer
- 220 grit sandpaper
- soap and water
- interior latex paint
- masking tape
- drop cloth
Steps:
1. If you’re painting the cheaper type of wood paneling, test in an inconspicuous spot to ensure that the paint adheres properly. (Paint should adhere properly to these panels and will last – as long as the wall are not exposed to constant banging and damage).
2. Using the soap and water, thoroughly clean the paneling of any oil or dirt that may be on it. This will ensure that the primer will adhere properly. Once dry, sand the walls to a smooth finish (this is not necessary if painting over the cheaper panels).
3. Masking off trim and other areas, paint the primer onto the wall the same way you would normally apply paint. Allow the primer at least 24 hours to dry completely. Apply your paint in 2 coats (allowing the first to dry completely before adding the second.
Note: If you don’t want the lines that exist between the paneling to be a part of the finished product, you will need to fill them in with a spackling material. Fill in all the grooves and sand smooth when dry. Then apply your primer and paint.
—
Believe it or not, an argument can be made that wood paneling is making a comeback. As with all things old, this retro wall decor has been slowly increasing in popularity in recent years. If you have a soft spot for wood paneling, you could always go with the option to restore it and bring it back to its former glory.

