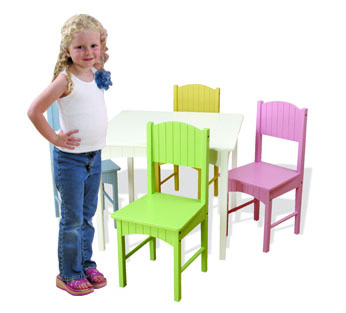
Children are expensive. If someone says otherwise, odds are high that they are not parents. While opinions on parenting may vary widely, there is one thing most parents can agree on: saving money whenever possible is always worth looking into.
Whether you’re a parent-to-be or your youngest child is one of many, giving older furniture a kid-friendly face lift can be a huge money-saver. The best thing about this project is that it is an economically-savvy plan regardless of the number of children you have.
This is a great project to get your child(ren) involved in, depending upon their age. Children tend to take more pride in things they help create.
In this week’s Weekend Warrior, we’re going to convert old, slightly worn furniture into bright, vibrant rendition for your children to enjoy during their transitioning years.
The equipment/materials necessary for this DIY project heavily depends upon the gender and personal tastes of your children, not to mention the existing color scheme of the room the furniture is going to end up in. In general, however…
Here’s What You’ll Need:
-drop cloth -sandpaper (various grades)
-paint brushes -belt sander (if there is a lot of furniture to be sanded)
-tape (paint safe) -roller brushes
-paint tray -spare towel(s)
-paint* -art supplies**
*The amount of sheen depends upon your personal preference. A quart is usually sufficient for a single piece of furniture. The amount and colors of paint are limited only by your creativity.
**These could include anything from stencils, shaped sponges, etc.

First things first. You’re going to need to get your hands on some used or slightly damaged furniture. It doesn’t matter if its from your attic, a flea market or a neighbor’s garage sale. You won’t recognize it by the time we’re done with it.
Step 1
Sand the furniture you plan to transform until the current finish has been completely removed and/or the surface is smooth. This is essential to ensure an even coat when you begin to paint the furniture. Use the towel or a dry paint brush to remove any sanding dust from the furniture’s surface.
Step 2
Lay down the drop cloth in a well-ventilated area where the furniture can remain unhindered until it dries completely. Pour the base color paint you (or your child) has chosen for the furniture into the tray. Depending upon the size of the furniture, use the paintbrush and/or paint roller to evenly coat the furniture. Allow it to dry completely.
Step 3
Here is where creativity comes into play (whether it comes from you or your children). This is where your children can help in the process. Using the stencils, sponges or tape (please be sure it’s safe for paint), create patterns and other designs on the furniture. Paint over the taped lives for various effects (search the internet for ideas on patterns). Keep in mind that it’s children’s furniture. The wackier, the better.
Finally, allow it to dry completely and watch the joy spread across you child’s face as you move the furniture they helped create into their rooms.
